To
discover the content of this blog visit the "summary" page.
Drawing of a tin can is very easy with Adobe Illustrator. I will try to show it in a few clicks with the "Effect-3D-Revolve" tool. The final result is shown below:

The most difficult is to
make the label!
For this, I went looking on the net to find a duck picture and I found it:
For this, I went looking on the net to find a duck picture and I found it:
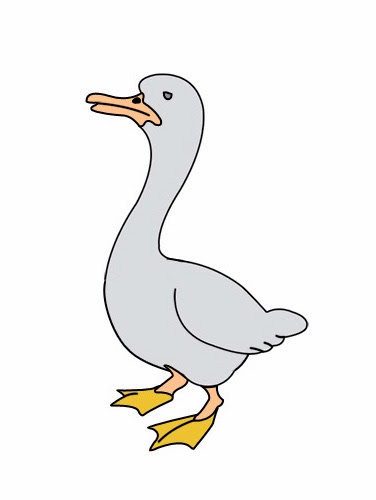
So I reproduced and then I colored it with a gradient mesh as below:

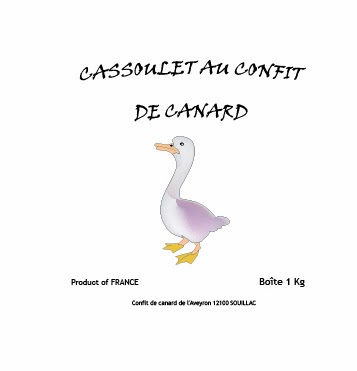
Then I added the text (imaginary) of the label:
“cassoulet with
duck confit” (I am not sure of the translation)
And finally, I put a background with a gradient of 5 colors (angle 0 °) like this:
·
Location 0%, RGB = 121, 110, 97· Location 39%, RGB = 165, 130, 86 (Distribution: 59-41%)
· Location 60%, RGB = 213, 178, 141 (Distribution: 48-52%)
· Location 80%, RGB = 229, 180, 114 (Distribution: 54-46%)
· Location 100%, RGB = 196, 154, 108 (Distribution: 50-50%)
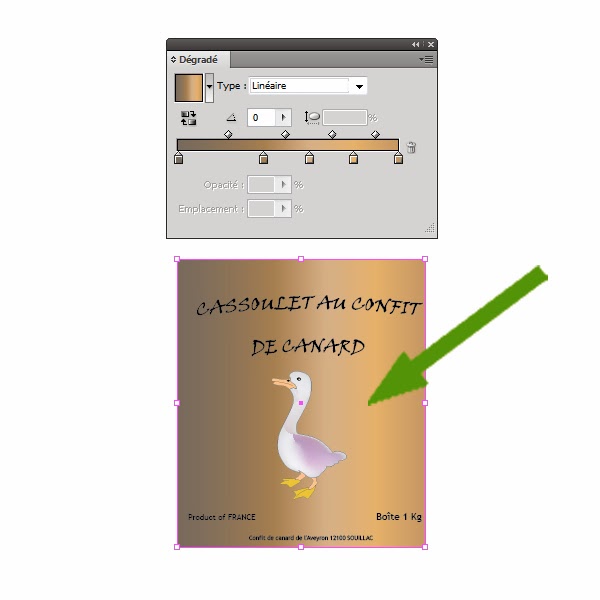
For more information see the post "notation for gradients of colors".
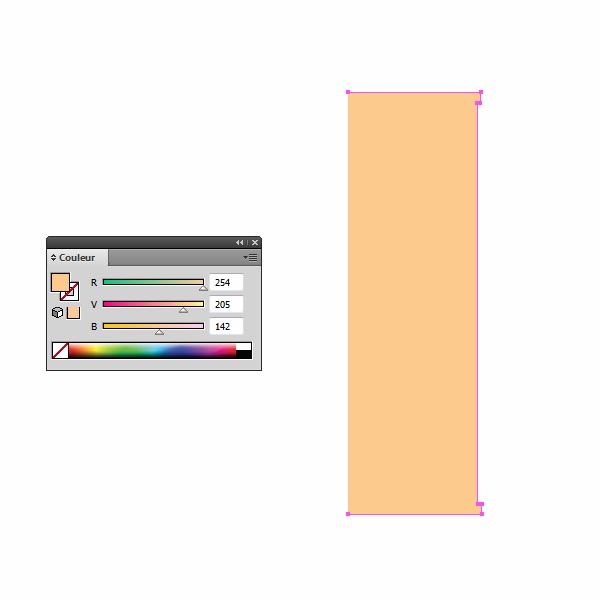
The label is now complete; the tin can is a piece
of cake...For this, draw a path corresponding to the half profile of the tin can with a color RGB = 254, 205, 142 as below:
And use "Effect-3D-Revolve" with
the following options:
·
Position
= Before· Angle of Rotation X, Y, Z = 0°
· Perspective = 50°
· Angle of Revolve = 360°
· Offset = 0 pt. From left edge
· Surface = Plastic Shading
· Light Intensity = 100%
· Ambient Light = 50%
· Highlight Intensity = 75%
· Highlight Size = 90%
· Blend Steps = 25
· Shading Color = Noir

I add a path to raise
the top of the box with a
gradient of 4 colors (angle 0 °) as
follows:
·
Location 2%, RGB = 136, 95, 60· Location 24%, RGB = 106, 75, 44 (Distribution: 54-46%)
· Location 60%, RGB = 213, 178, 141 (Distribution: 50-50%)
· Location 100%, RGB = 165, 130, 86 (Distribution: 54-46%)

Finally, I "glue" the label on the
box and apply an “Effect-Warp-bulge” with
10% horizontal blend:

And the final result is shown above!
Aucun commentaire:
Enregistrer un commentaire