To
discover the content of this blog visit the "summary" page.
Introduction
First of all I would like to
apologize for my imperfect English, please be indulgent.
I decided to dedicate my blog mainly
to the techniques of digital art in order to render a little that the web
have given me in this area. But the Anglophone community of internet has also
helped me a lot, so I thought that enlarging my audience to this community would
be a just reward.
Here is a picture of Hayden Panettiere (photo found on the web) with a beautiful hair (you can’t find more appropriate example !) that I propose to reproduce the Adobe Illustrator (CS5).

Hair
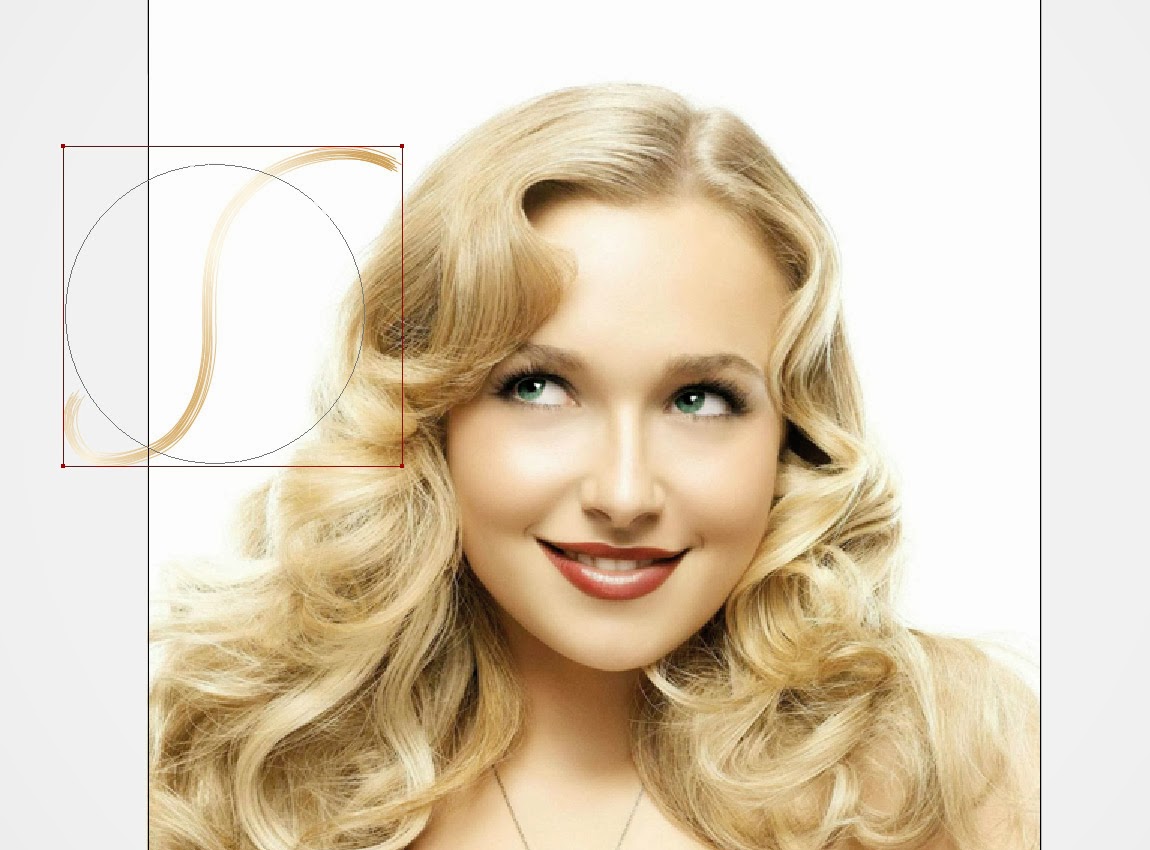
The technique I use to draw the hair is always the same and I think it is original because I do not have found it on any tutorials website. I'll use "symbol" tools and I begin drawing a path (regardless of color) with a very thin thickness (0.25 pt.), which has the shape
of the chosen hair as below:

Then I decompose the path (Object-Expand ...)

... in order to fill it with a linear gradient of 3 colors (angle = 0 °), trying to keep hair color on the picture as below:
·
Location
17,5%, RGB = 206, 156, 80· Location 56%, RGB = 255, 246, 226 (Distribution: 50-50%)
· Location 92%, RGB = 220, 186, 146 (Distribution: 50-50%)

Read the post "Notation for color gradients"
for more information.
Then I create a new symbol (for this, simply drag the path in the "symbols" window). Therefore it is possible to use the new symbol by selecting the "Symbols
Sprayer" tool as below:

After having "sprayed" 10 symbols (here 11) ...

… they must be ... closer with the tool "Symbol Scruncher" leaving pressing the right mouse button ...

Until obtain the following result (strand of hair):
By duplicating several times the group above we obtain a more consistent strand of hair by shifting a few copies (up, down or left or right) as below:

... and with the "Symbol shifter" tool (and some experience) we get the result below (if you're not familiar of the tools "symbol" it takes practice to master them) to make a more realistic hairstyle (in order to see
better results and materialize the space to fill I have drawn a dark background RGB = 47, 35, 16):

By duplicating the groups as many times as is necessary, we gradually get the consistency of hair while remaining as faithful as possible to the model:

We can also expand or reduce the copies of the original strand to meet the hairstyle:

With the only symbol created earlier, and by adapting the size and orientation of the copies, we get the following
result:

Of course, other strands of hair need to create new symbols (as necessary) according to the same technique as before:

Here the symbol
for drawing a lock o hair…

Gradually, the right hair goes up and we see better results (in this case blonde hair) on black background:

I create many new symbols needed to draw the various strands of hair of the subject. Because the hair of Hayden is very
important, I have create here 51 symbols for strands and locks of hair for the left and right side (see below):

The final hair approaches the following result (after a few hours of work):

Part of the hair passes behind the head to fall forward (see below):

Finally, after drawing the rest of the portrait, with black background we get this:

Result with white background:

Aucun commentaire:
Enregistrer un commentaire